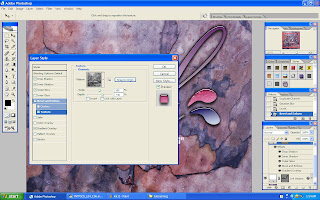
i clicked on the ink vector layer, then put gradient overlay in the layer style

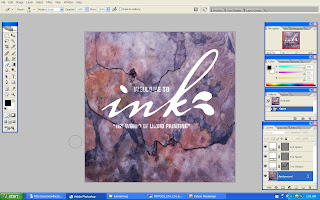
then i changed the color of the gradient, since i like purple, i chose dark and light purple..
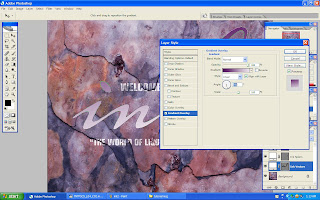
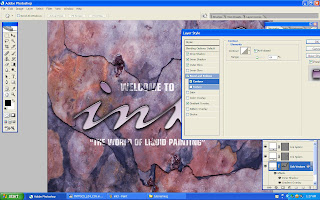
from the gradient overlay, i made some changes by dropping inner and drop shadow, changed the angle, put some outer glow, turned on bevel and emboss, all those things i editted by my own..non-specification..
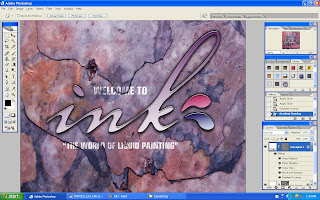
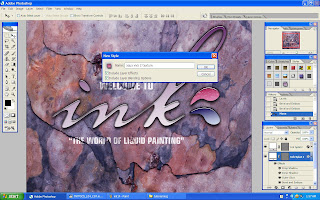
 then i created new style for Ink Vector layer and rename it as Aqua Viva 1
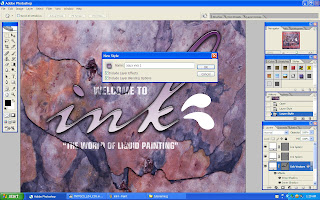 i dragged the Aqua Viva 1 to the style pallet at the above, then for the splash, i just clicked on it then clicked at the style before to fill it with same color that i have editted before
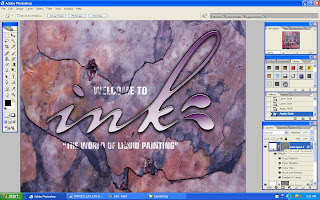
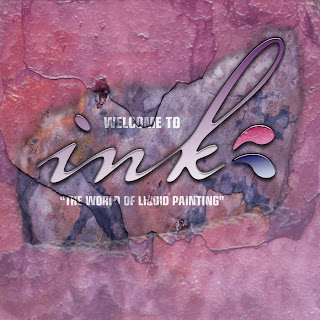
i made some changed for the second splash by changed the gradient color, yeah that pinky one..
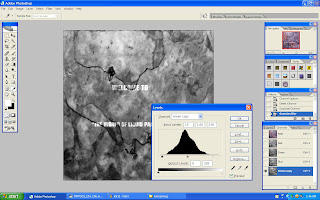
turned off the visibility of RGB, then turned on the green pallet, then dragged it to the new layer button to make a new green layer copy
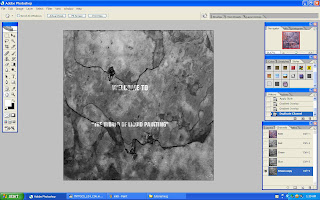
put some gaussian blur
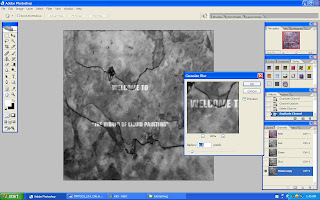
ctrl+L, then the levels box appeared, make some changed of it
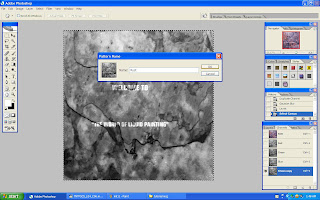
i went to Edit, chose Define Pattern then Pattern Name box pop up and name it as Rust
 then i made some changes on the second splash just now to make it more ruster
 clicked Ctrl+Backspace the background will turns into black like below
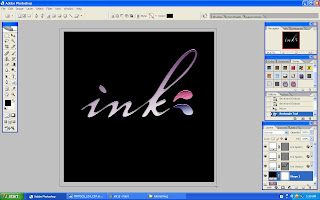 applied one of the background in Styles column
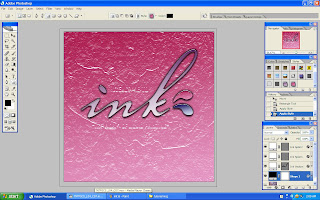 clicked Brush and simply draw the background
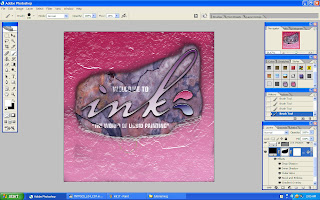
i selected Blending Options and changed the opacity to 30% and select blend interior effect as a group
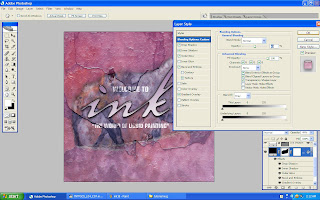
then the outcome...


0 comments:
Post a Comment