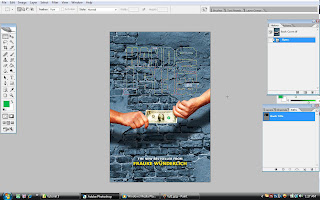
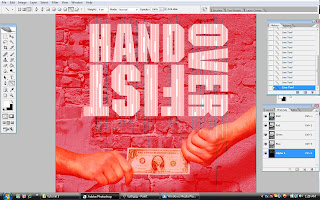
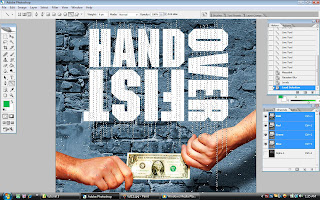
at first, the image looked like this..

but then, when i opened at the path pallet, it appeared a book title layer when i clicked on it, from that, i hold ctrl key and click on it to make a selection from the path. then i went to the layer pallet, made a new layer..
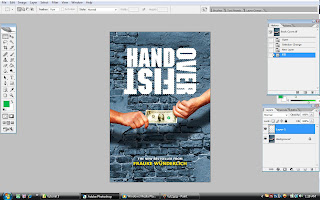
then from the new layer, i hold ctrl key and pressed backspece key..then the white words appeared.clicked on ctrl+d for deselect..now it seems like a painting on the wall..
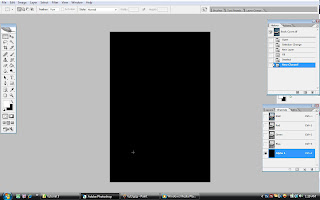
then i went to the channel pallet, there i could see the RGB layers..the i created a new alpha channel at the bottom..then this appeared..
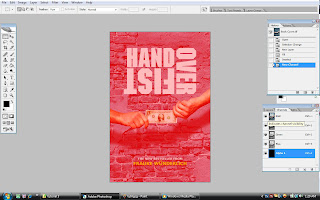
but when i clicked back on the RGB layer, the visibility turned on..
clicked on the rectanglar tools, hold on then clicked on the line tool..at the above side, clicked on the 3rd icon that will fill up the line with color..before that, clicked on the alpha channel..changed the width to 2 pixels..then pressed the shift key while making the line on the words like this..

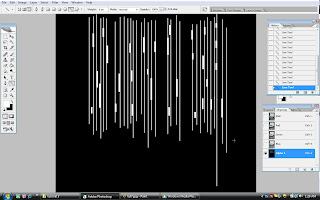
then i went to the filter menu..clicked on mezzotint..and i chose short line..
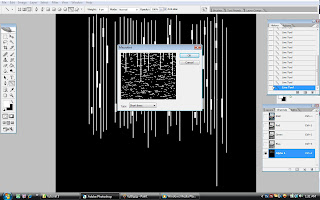
now i applied the gaussian blur from the filter, blur menu, with radius 1.3 pixels then clicked ok..

clicked on ctrl+L, then i changed s little bit alpha control wtih specific setting, then clicked ok..
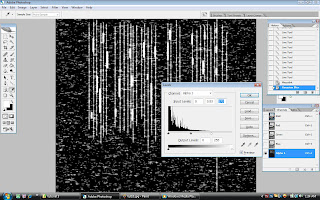
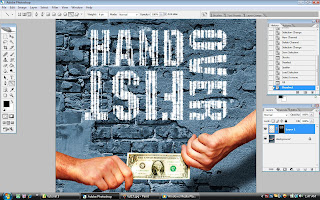
then i went back to the RGB channel, then hold on the ctrl key on the alpha 1 channel, clicked it to make a selection.
then i went to the layer pallet, clicked on the layer 1, and clicked on a new layer mask..see what happened..then clicked on the layer mask icon at the layer 1, hold on ctrl+I and to invert the pixels and allowed more text to dicover..

then came back to the path pallet..pressed ctrl and clicked on the boo title..then i went to the channel pallet and created a new brand channel and alpha 2 created..clicked on that channel..
 now to make the selection thinner, i went to the edit menu, chose stroke, then set the width to 10 pixels with centre location, now see what happened..
now i went to the filter menu, chose the brush stroke, and chose spatter..and i changed the effect of spray radius and the smoothness as what i wanted..now i can see the finished channel is ready to use..

came back to the layer 1 at the layer pallet, double clicked at the area and i brought up the layer style box..when i dragged the underlying layer to the right, the dark area became clearer..but i adjusted it and dragged the light area with alt key while dragging..
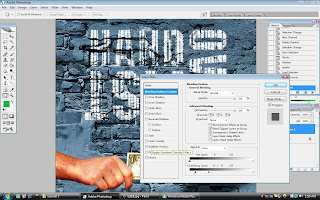
now you guys can see the final result..


0 comments:
Post a Comment