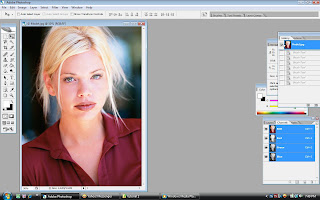
alright now lets move on to the another image; the model..started with..
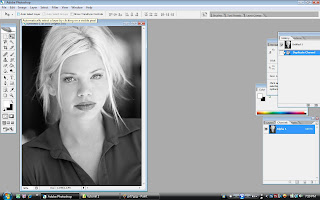
i converted the image into the grayscale
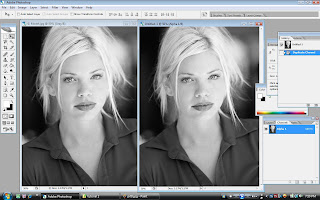 the duplicated the gray channel, with new one
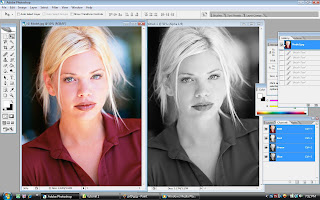
created another hue/saturation again and this time dragged the saturation to -100, into grayscale back for the original image..and clicked ok. now both of the images are identical.
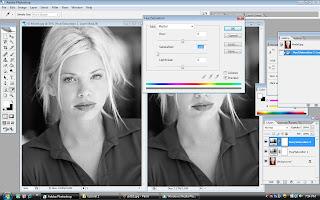
 now, i went back to the hue/saturation layer that i made at the first place, there are editting for colors, ctrl+1 for red, ctrl+2 yellow, ctrl+3 green, ctrl+4 cyan, ctrl+5 blue and ctrl+6 magentas. now i used red first and dragged the lightness to -25..
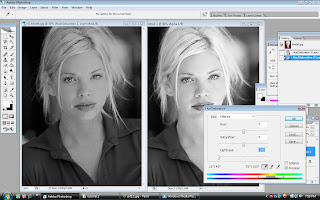
with ctrl+2 for yellow, the lightness went to -100 so that we can see the blond hair more clearly..

now with ctrl+3, the green with -64
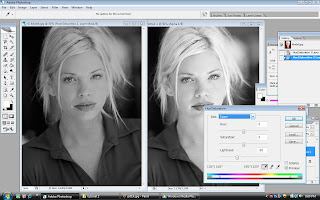
ctrl+4, the cyans with -26

because of the magentas doesnt show any changes, i just skipped that part and went to ctrl+5 for the blue with -91..
then i zoomed in both of the images..
now you can see the differences..right is the normal grayscale and the left is the grayscale that have been editted..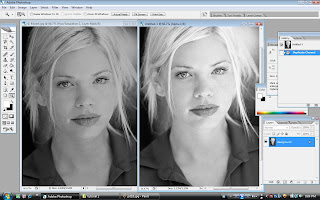


0 comments:
Post a Comment