for tutorial 2, there are 3 images provided

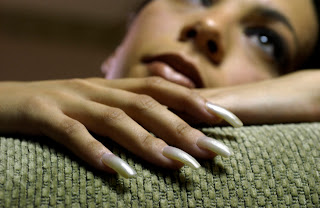
k let start with the fingernail picture..

 by using brush and the size of 200, with color mode, black, then i made the above side grayscale in a new layer. i changed the size of brush follow the smaller part; the finger..can include the nail also..
 on the path, click the layer on that path and hold the ctrl key at the same time.
 then go to the layer, search the hue/saturation..
 from the hue/saturation, i changed the color of the sofa..
 then by using brush with smaller size, to color the nails, i went back to the hue/saturation and choosed any color that i like for every each of the fingernail.
and the result...


0 comments:
Post a Comment