
 pressed ctrl+alt+0 for more resolution image.
 opened the hue/saturation, clicked on colorize and dragged the hue to 35, saturation to 3o and clicked ok..
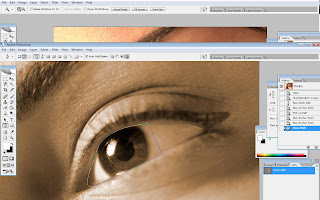
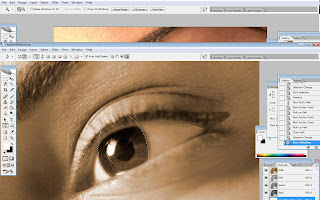
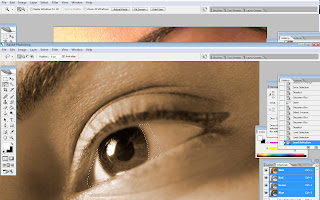
 with pen tool, selected the path, i drew a path as shown on the image. while the cursor at the path pallet, pressed ctrl key and clicked it. then i went to the channel pallet, and clicked on new channel, now i have an alpha 1. click ctrl+d for deselect and went to the new path to create another path on the eye..and i repeated the same work as i did before. and there is alpha 2. now i have two selection that i made from the path i've made.
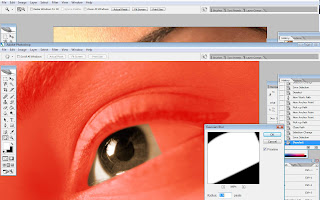
 clicked the alpha 1 and the clicked on the visibility of RGB, then this image appeared. then set the gaussian blur to 2.5 pixels.
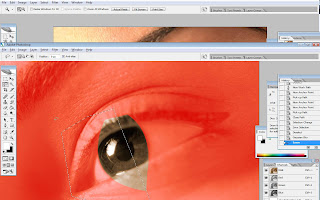
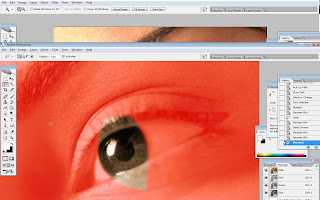
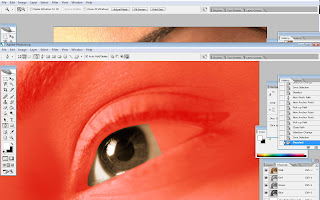
then i selected the alpha 2, but now i have to use lasso tool since the sharpness of both side are different. from the side that i have been selected, i put the gaussian blur to 3.5 pixels.then inverse the selection by press shift+ctrl+i and then clicked ctrl+f twice to make both side blur with different pixels.

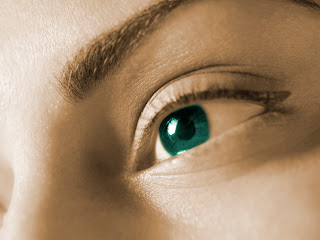
 Pressed ctrl+d to deselect and select RGB. then clicked ctrl key and click alpha 1, and shift+ctrl + alpha 2 to combine alpha 1 and 2.For undo that, ctrl+alt to minus the part of the alpha 2.For indo, ctrl+alt+shift+alpha 2 for the overlapping area. then i clicked on layer pallet, hue/saturation and made the adjustment and selected any color for the eye..
and finally..


0 comments:
Post a Comment