CLICK HERE FOR BLOGGER TEMPLATES AND MYSPACE LAYOUTS »

Tuesday, December 23, 2008

tutorial 6 : my metrosexual shadow man!


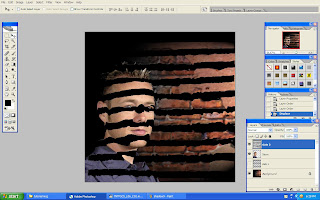
after opened this image, i created a new layer. then i went to rectangular marquee tool and changed the style to the fixed size and changed the width and the height 900 x 40 pixels. moved the cursor to the upper lefthand side and clicked. the size that i changed appeared. then hold on the alt key then clicked backspace to fill the rectangular with black (the foreground color) and diselected.
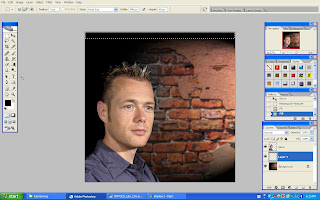

hold on the alt key at the rectangular area then dragged it to the below just like the image that i showed. then i combined all the layer that have been created by clicking all the layers for the rectangular then clicked ctrl+E to merged all the layers and named it as slats 1 because i will create slats 2 after this. then duplicated the slats 1 and named it as slats 2. then i hided slats 1 and slats 2
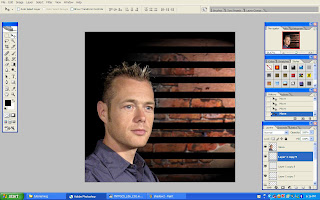

then i went to the channel pallet, i chose the green layer. then i went to the pop up menu, duplicated the green layer and with the new document then alpha 1 created. made it into grayscale.
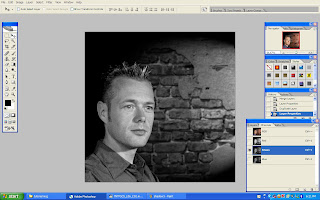
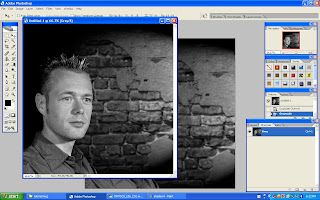
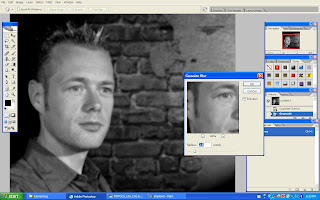
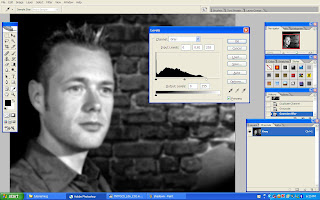
after that, i applied a gaussian blur to smooth out the gray level..then i brought up the level menu by clicking the ctrl+L, pushed up the white level a bit, and dragged others also..then i saved the file at the desktop on psd file.
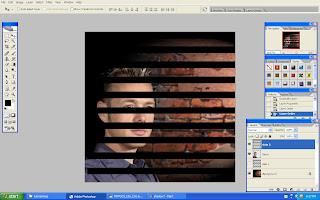
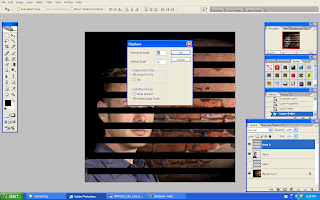
then i came back to the layer pallet, then i turned on the slats 2 and i dragged it above the man's face..then i went to the filter menu, chose distort and then displaced.. changed the horizontal and vertical scales to 10 and 15..clicked ok and then menu will come out and i chose the file that i have saved at the desktop. clicked on it


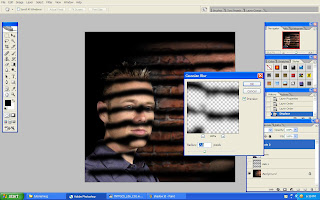
and this appeared..to make the line more softer, as usual, i applied the gaussian blur..used the pixels that i think is appropriate..
then i hold on the ctrl key, clicked on the man's face layer to make a selection..then i made a new layer mask..this happened..
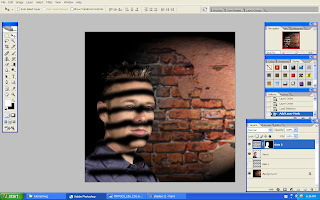
then i reduced the capacity..

then i turned on the slats 1, then i applied the gaussian blur..

same method, i reduced the capacity..

then, i clicked on the man's face layer, i changed the hue/saturation..by using the brush tools, with the color mode, i colored the man's hair, lips and also his shirt..

there you see..the metrosexual shadow man!!

assignment 2 : the description


i made the colourful text so that people will more attract to read the courses that has been offered. i used more bright color to it. but since the wallpaper is not so big, so i have to use small font so that it wont too crowded. the pictures that i have searched, all of it are related to the FOM. the computers could represent the multimedia, e-commerce and also the subjects that students have taken because most of the course required to learn computer. the paper and the calculator represent the accounting, and other equation subjects that student from FOM have to learn. the shake hands represent that communication that goes well among students that we have or will learn from certains subjects. and the scroll with the graduation hat represent that FOM student will graduate someday because the faculty required us to learn many things from basic computer, accounting, economics, languages. history and many more that will make our future brighter. the blue background with the some flowers show the harmony among the students, lectures and officers from FOM.

Monday, December 22, 2008

assignment 2

k i started with a blank white of a4 size page..then i created a background from the blank A4 size.. then from the tutorial 6 that i have learnt, i created my own background. first, i filled the page with blue color. then i put used cloud, lightness then created alpha channel from channels pallet..


the text i created used a normal text, then from the previous tutorial, i followed how to made the text like real on the wall (which i already created)..i clicked on the rectanglar tools, hold on then clicked on the line tool..at the above side, clicked on the 3rd icon that will fill up the line with color..before that, clicked on the alpha channel..changed the width to 2 pixels..then pressed the shift key while making the line on the words


i applied the same material to put an MMU logo at the right below corner

for the main text, i created it as usual, but then i applied stroke on it with drop shadow and outer glow..


the images that i took from the internet, i arranged the places then applied the same method every each of it with drop shadow, the border, and other things

the new texts i made it horizontally to make some differences

then i put more texts for information about the horizontal texts that i have made


to make it more interesting, i dropped a special effects brush tool on the background..


and the result..


Saturday, December 20, 2008

assignment 2 : the references


Thursday, December 18, 2008

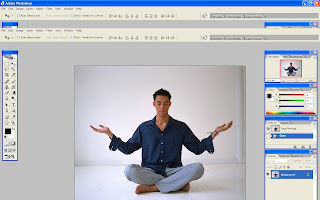
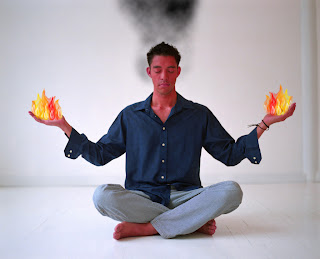
tutorial 5 : the yoga man~

the tutorial 5 exercise..

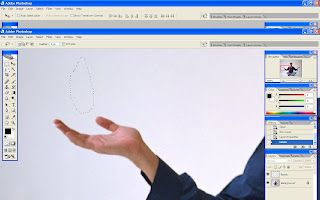
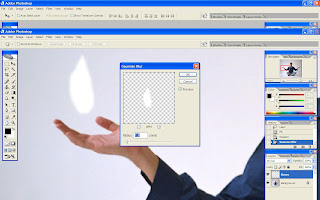
first i drew a flame used lasso tools
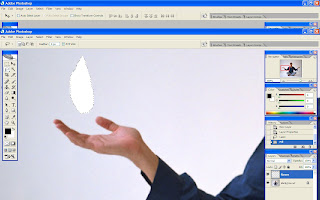
ctrl+backspace to blank inside..

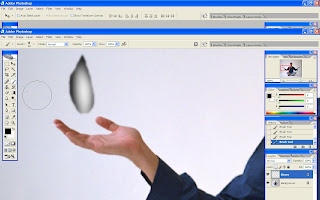
then editted with gaussian blur, arranged it by any pixels that i wanted


by using the eraser, and the black color as the foreground, i erased a bit the flame without touch the middle area
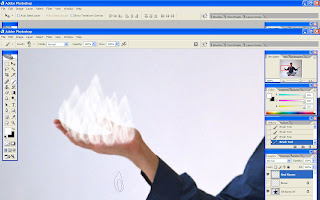
visibled the background area, then named the flame as flame and I created a flame figure, I define brush preset on it so that I can do a multiple flames using brush tools.
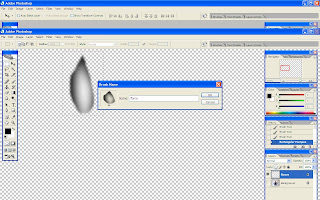
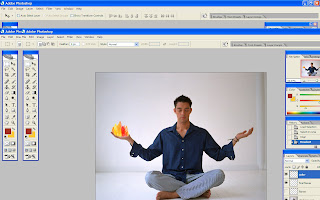
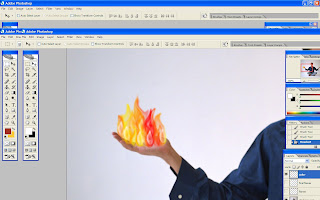
then brushed it on the hand
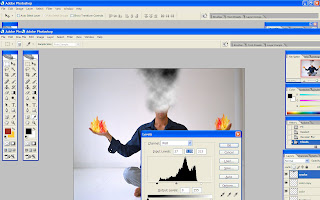
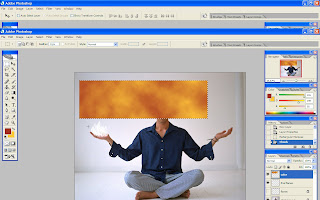
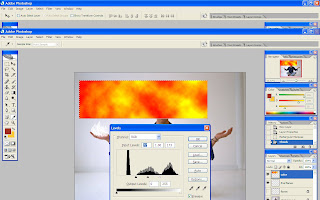
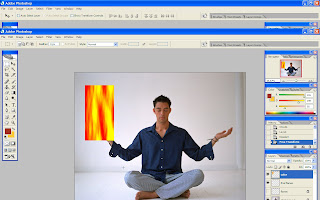
To add a color on the flames, i created a random size of rectangular on the marquee tool and use red and yellow color and go to filter chose render clouds.After that, I press shift+ctrl+ I to apply the color on the flames only.


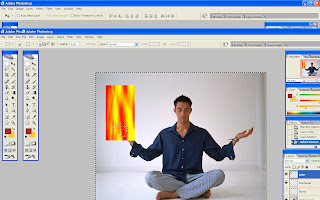
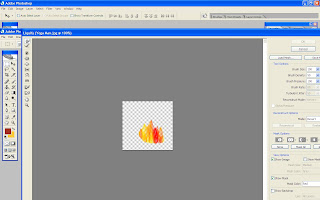
I went to the filter menu and click liquify mode on it, then I clicked "swirl" button and applied it to the flame that I chose so that it looks more pretty flame object.


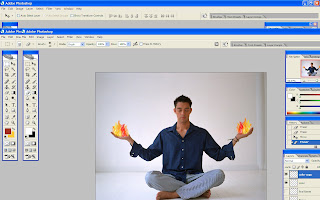
then i flipped horizontal on that flame to apply it to another hand, then arranged it a bit by using eraser

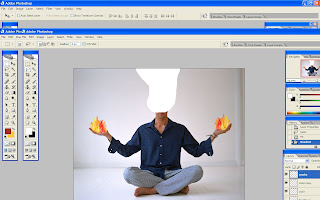
alright, now for the smoke on the man's head, i used lasso tools to draw..
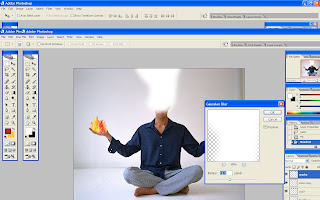
with the same technique, ctrl+Backspace and the gaussian blur
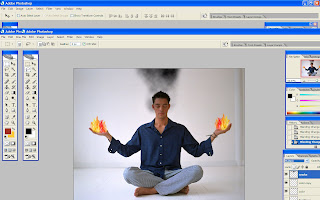
to apply the smoke, i applied the render clouds and changed the layer to multiply. ctrl+L to edit the smoke
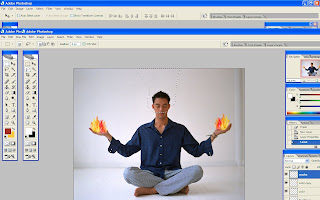
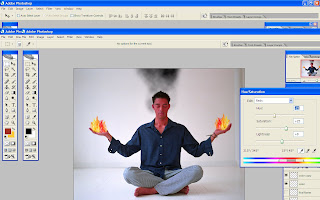
then to erase the smoke at his face, i used the eraser. and to make it more interesting and real, i changed the hue/saturation to make the man's face red..parallel with the flame and smoke
and the result...